Table of Contents
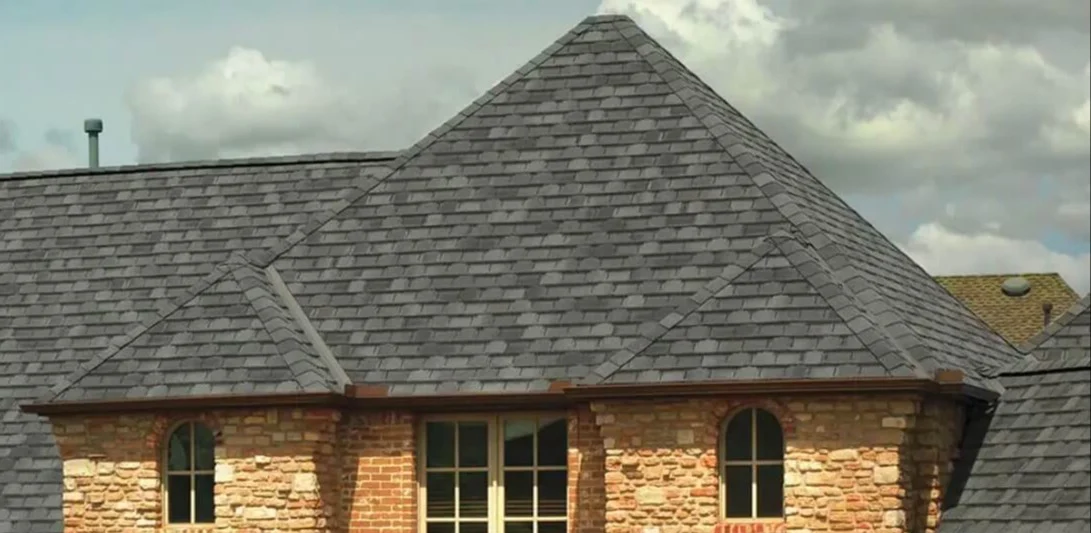
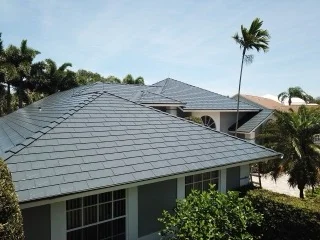
Flashing might not be the most glamorous roofing component, but it's absolutely critical. These thin pieces of metal or other waterproof material seal the gaps where your roof meets walls, chimneys, vents, and other penetrations. When flashing fails, leaks follow. Here's everything Florida homeowners need to know about roof flashing.
What Is Roof Flashing?
Roof flashing is waterproof material installed at transitions and penetrations to direct water away from vulnerable areas. Think of it as the weatherproofing at every 'edge case' on your roof—wherever roofing materials alone can't form a complete seal.
Why Flashing Matters
Even the best roofing materials can't seal every gap:
- Shingles end at walls and chimneys
- Vents and pipes penetrate the roof surface
- Valleys channel water at high volume
- Skylights create large rectangular penetrations
Without proper flashing, water would enter at every one of these points. As we note in our roof leak causes guide, flashing failure is the number one source of roof leaks.
Flashing Materials
Several materials are used for flashing, each with pros and cons:
Aluminum:
- Lightweight and easy to work with
- Doesn't rust (but can corrode)
- Less expensive than copper
- Can react with cedar or treated lumber (galvanic corrosion)
Galvanized Steel:
- Strong and durable
- Can rust when zinc coating wears
- Good value for most applications
- Common on residential roofs
Copper:
- Premium appearance (develops patina)
- Extremely long-lasting (50+ years)
- Higher cost
- Excellent for visible applications
Lead:
- Traditional material, very malleable
- Excellent for complex shapes
- Environmental concerns limit modern use
- Still used in some restoration work
Rubber/EPDM:
- Flexible, easy to install
- Used for vent pipe boots
- Degrades in UV light over time
- Good for 10-15 years typically
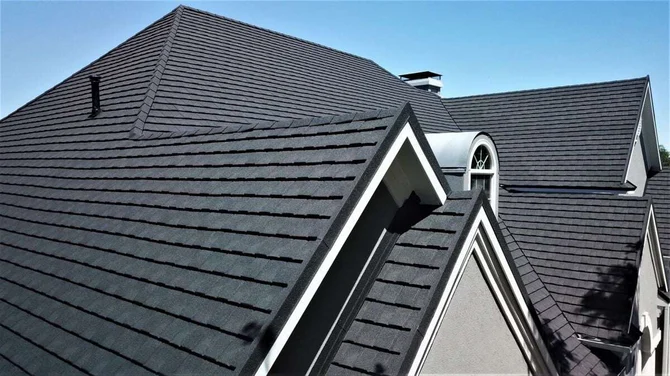
Types of Roof Flashing
Step Flashing
Where Used: Where roof slopes meet vertical walls (such as dormers or second-story walls)
How It Works:
- Individual L-shaped pieces installed with each course of shingles
- Each piece overlaps the one below
- Creates a stair-step pattern up the wall
- Works with counter flashing or siding for complete seal
Common Problems:
- Improper installation (pieces too short)
- Sealant failure over time
- Siding damage exposing flashing
- Missing pieces from wind or repairs
Counter Flashing
Where Used: Over step flashing and base flashing, typically at chimneys and masonry walls
How It Works:
- Embedded into mortar joints or reglets
- Covers the top of step flashing or base flashing
- Prevents water from getting behind the primary flashing
Common Problems:
- Mortar deterioration releasing flashing
- Improper reglet depth
- Sealant failure at top edge
Base Flashing (Apron Flashing)
Where Used: At the bottom of walls, chimneys, and other vertical surfaces
How It Works:
- L-shaped flashing with one leg under shingles
- Other leg bent up against vertical surface
- Works with counter flashing for complete protection
Common Problems:
- Corrosion at bend
- Lifting from expansion/contraction
- Debris accumulation behind flashing
Valley Flashing
Where Used: Where two roof slopes meet forming a valley
How It Works:
- Open metal valley: Visible metal channel
- Closed cut valley: Flashing under shingles
- Woven valley: No metal, shingles woven together
Florida Recommendation:
Open metal valleys are generally preferred in Florida because:
- Better handling of heavy rainfall
- Easier debris flow
- Easier to inspect and maintain
- Longer lasting
Drip Edge
Where Used: Along roof edges (eaves and rakes)
How It Works:
- Directs water away from fascia and into gutters
- Prevents water from wicking under roofing
- Required by Florida Building Code
As discussed in our building codes guide, drip edge is mandatory in Florida.
Vent Pipe Flashing (Pipe Boots)
Where Used: Around plumbing vent pipes
How It Works:
- Rubber or metal collar fits around pipe
- Base slides under upper shingles, over lower shingles
- Creates watertight seal around penetration
Common Problems:
- Rubber deterioration from UV exposure
- Cracking around the collar
- Typical lifespan: 10-15 years in Florida
Skylight Flashing
Where Used: Around skylights
How It Works:
- Typically a complete kit with all four sides
- Integrates with step flashing on sides
- Saddle or cricket above to divert water
Skylight flashing is complex. See our skylight leak guide for more details.
Chimney Flashing
Where Used: Where chimney meets roof
How It Works:
- Multi-component system
- Step flashing on sides
- Base flashing at front
- Cricket or saddle at back (for chimneys wider than 30 inches)
- Counter flashing overlaps all
Why Chimneys Are Complex:
- Four different planes to waterproof
- High-volume water flow in heavy rain
- Thermal expansion from heat
- Mortar deterioration over time
Flashing Installation Best Practices
Proper Overlap
All flashing must overlap correctly:
- Upper pieces over lower pieces
- Minimum 3-4 inch overlap typically
- Roof pitch affects required overlap
- Water should never have opportunity to flow behind flashing
Sealant Usage
Sealant supplements but doesn't replace proper installation:
- Use compatible sealants (polyurethane for most applications)
- Apply under flashing edges where appropriate
- Don't rely on sealant alone—it fails over time
- Quality sealants last 5-10 years; flashing should last longer
Fastening
Proper fastening prevents lifting:
- Nail through upper portion (hidden by overlapping material)
- Avoid nailing through exposed areas
- Allow for thermal expansion
- Use compatible metals to prevent galvanic corrosion
Integration with Roofing
Flashing must work with roofing materials:
- Install in proper sequence with shingles
- Some flashing goes under shingles, some over
- Never expose fasteners on shingle-covered portions
- Follow manufacturer specifications
Common Flashing Problems
Corrosion and Rust
Causes:
- Age and weather exposure
- Galvanic corrosion (dissimilar metals)
- Standing water
- Salt air (coastal Florida)
Signs:
- Visible rust stains on roof
- Deteriorated metal edges
- Holes in flashing
Lifted or Separated Flashing
Causes:
- Thermal expansion and contraction
- Wind damage
- Improper installation
- Age-related sealant failure
Signs:
- Visible gaps at flashing edges
- Flashing pulling away from surface
- Bent or lifted metal
Deteriorated Sealant
Causes:
- UV degradation
- Age (5-10 years typical)
- Temperature cycling
- Use of improper sealant type
Signs:
- Cracked or brittle sealant
- Gaps where sealant has pulled away
- Water stains below flashing
Improper Previous Repairs
Common Problems:
- Roofing cement slathered over everything
- Flashing installed out of sequence
- Incompatible materials used
- Exposed fasteners
The Roofing Cement Problem:
Many DIY repairs involve excessive roofing cement. While it works temporarily, it:
- Dries and cracks over time
- Makes proper repair more difficult later
- Hides underlying problems
- Is not a substitute for proper flashing
Flashing Repair and Replacement
When to Repair vs. Replace
Repair When:
- Sealant has failed but metal is sound
- Minor lifting that can be resecured
- Small gaps or separations
Replace When:
- Metal is corroded or has holes
- Multiple repair attempts have failed
- Flashing is outdated design
- During roof replacement (always)
DIY Considerations
Some flashing maintenance is manageable:
- Resealing pipe boots
- Applying sealant to minor gaps
- Cleaning debris from valleys
Leave to Professionals:
- Chimney flashing (complex multi-piece)
- Step flashing requiring siding removal
- Valley flashing replacement
- Any work requiring roof material removal
Cost of Flashing Repairs
Florida flashing repair costs:
- Sealant application: $100-$300
- Pipe boot replacement: $150-$350
- Step flashing repair: $300-$800
- Chimney reflashing: $500-$1,500+
- Valley reflashing: $500-$1,200
Flashing During Roof Replacement
When getting a new roof, all flashing should be addressed:
What Should Be Replaced
- All pipe boots and vent flashing
- Valley flashing
- Drip edge
- Any visibly deteriorated step flashing
What Can Sometimes Be Reused
- Chimney counter flashing (if embedded in good mortar)
- High-quality copper flashing in good condition
- Recently installed premium flashing
Questions to Ask Your Contractor
- What flashing is included in the quote?
- What type and gauge of metal?
- Will all pipe boots be replaced?
- Is chimney reflashing included?
- What warranty covers flashing?
Florida-Specific Flashing Considerations
Wind Resistance
Florida's high winds require:
- Secure fastening
- Proper edge sealing
- Wind-resistant installation methods
- Compliance with Florida Building Code
Hurricane Preparedness
After hurricanes, check flashing for:
- Wind lifting
- Debris impact damage
- Sealant failure from pressure changes
- Missing or displaced components
See our post-storm checklist for complete inspection guidance.
UV and Heat
Florida's intense sun affects flashing:
- Sealants degrade faster
- Rubber boots fail sooner
- Thermal expansion is significant
- Light-colored metals preferred where visible
The Bottom Line
Flashing is critical infrastructure for your roof. Proper installation and maintenance prevents the majority of roof leaks. If you notice any signs of flashing problems—stains below roof penetrations, visible gaps, or deteriorated materials—address them promptly before water damage occurs.
At Pro Specialty Services, we pay careful attention to flashing on every roofing project. During inspections, we examine all flashing points. During replacements, we use quality materials and proper installation techniques. Contact us for a roof inspection if you're concerned about flashing on your Florida home.
Caleb Hutchinson
Owner, Pro Specialty Services
"Flashing is where I see the most shortcuts taken by inexperienced roofers. Slathering roofing cement everywhere is not flashing—it's a temporary bandage that fails. Proper flashing installation takes time and skill, but it's the difference between a roof that stays dry and one that leaks. When getting quotes, ask specifically about flashing materials and methods. It tells you a lot about the contractor's quality standards."